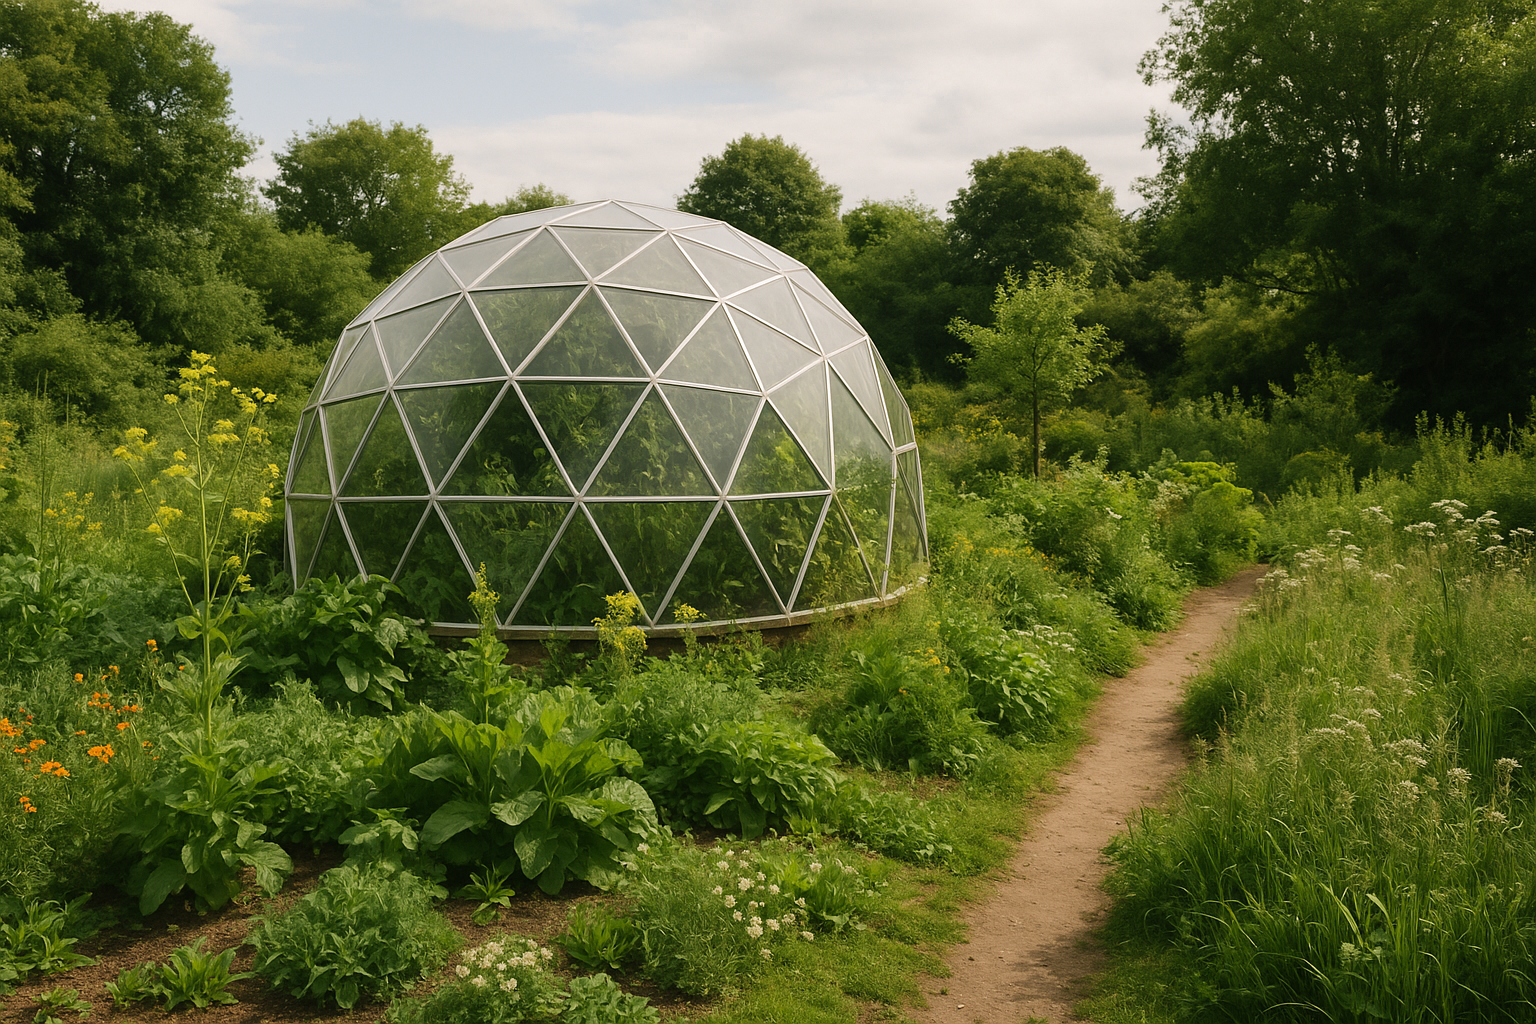
If you have a tired lawn corner, a weedy strip by the fence, or a bare bed that never quite worked, you’re sitting on the perfect place to grow a small biosphere. Instead of thinking of it as “a flower bed,” we’ll treat it as a tiny ecosystem: soil life, plants, water, insects and you, all working together.
This guide walks you through creating one new climate‑smart bed from scratch, from first spade in the ground to the first season of care. You can use it in a front garden, back garden, or even a generous shared verge.
Step 1: Choose Your Patch with Climate in Mind
Before you touch a tool, observe. A good biosphere bed starts with matching your plants to the microclimate you already have, not the one you wish you had.
- Light: Watch your chosen spot for a day or two. Is it in full sun (6+ hours), part shade (3–5), or mostly shade?
- Water: Does rain pool there or run off quickly? Is it near a downpipe or roof edge that brings extra water?
- Wind: Is it exposed to strong winds or sheltered by fences, hedges or buildings?
- Access: Can you reach all parts of the bed to weed, mulch and plant without trampling the soil?
For your first biosphere bed, choose a patch that’s:
- At least 1 m x 1.5 m (enough space for a simple plant community)
- Visible from a window or seat (so you actually enjoy it)
- Not the absolute driest or wettest part of your garden (those are advanced projects)
Step 2: Prepare the Soil Like It’s a Living Community
In a biosphere garden, soil is habitat, not just “dirt that holds plants up.” Your aim is to disturb it as little as possible while giving it a huge boost of organic matter.
Option A: Sheet mulch over grass or weeds
If your patch is currently lawn or weedy ground, sheet mulching is a low‑dig way to create a new bed while feeding the soil.
- Scalp but don’t strip. Mow or cut plants as low as you can and leave the clippings in place.
- Soak the ground. Water the area deeply. Moisture speeds decomposition and invites soil life to move in.
- Smother gently. Lay down overlapping sheets of plain cardboard or thick, uncoloured paper (no glossy coatings). Overlap edges by at least 10 cm so light can’t reach the grass below.
- Add organic matter. Top with 5–10 cm of compost, well‑rotted manure, or a blend of compost and topsoil.
- Mulch on top. Finish with 5 cm of organic mulch such as wood chips, shredded leaves or straw.
You can plant into this straight away by cutting small X‑shaped slits in the cardboard for each plant, or you can let it break down for a few weeks first. Either way, worms and microbes will be turning your old lawn into rich, sponge‑like soil underneath.
Option B: Gently loosen an existing bed
If you’re reclaiming an old bed, skip deep digging.
- Remove stubborn roots. Lift out perennial weeds like couch grass or bindweed as best you can, shaking off the soil.
- Loosen, don’t flip. Use a garden fork to rock the soil gently, creating air channels but leaving layers mostly intact.
- Top‑dress with compost. Spread 3–5 cm of compost across the surface. No need to dig it in; rain and soil life will do the mixing.
- Mulch. Add 5 cm of organic mulch to protect the soil from sun, heavy rain and compaction.
Step 3: Design a Mini Plant Community, Not a Row of Soldiers
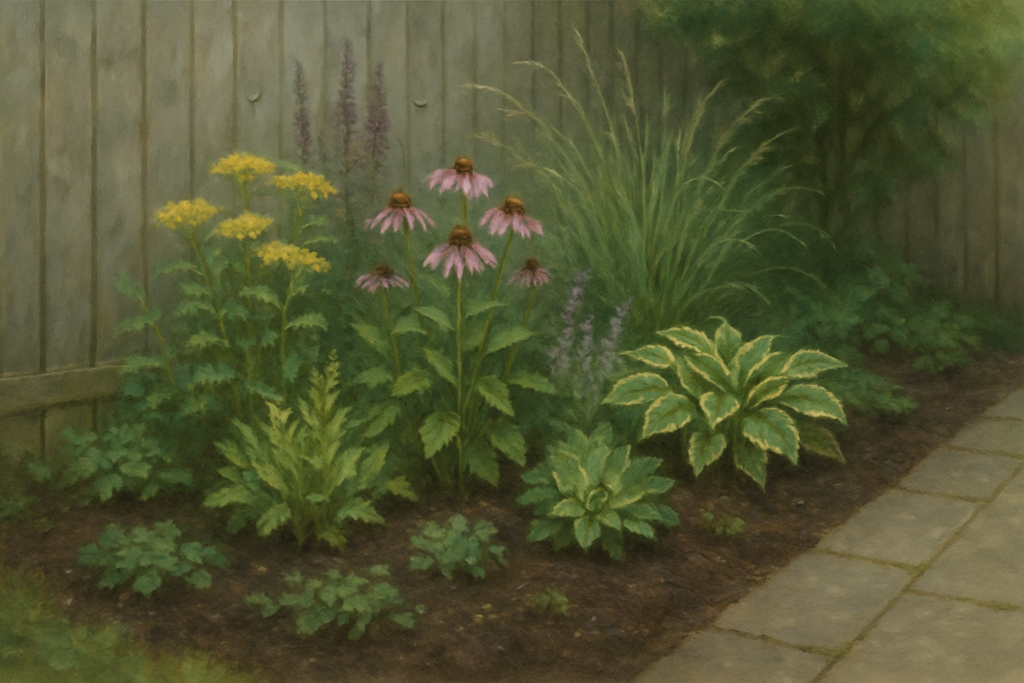
Instead of lining plants up like ornaments, think of your bed as a layered community. Each plant has a role to play in supporting the others, the soil and wider biodiversity.
Use three simple layers
- Structural layer: 1–3 slightly taller plants that give the bed shape and shade the soil (shrubs, tall perennials, or clumping grasses).
- Filler layer: Medium‑height, long‑blooming perennials or herbs that occupy the middle, offer nectar, and knit the bed together.
- Ground layer: Low growers and groundcovers that live at the soil’s surface, protecting it like a living mulch.
A simple planting recipe for a 1 m x 1.5 m sunny bed might look like:
- 1–2 structural plants at the back or centre.
- 5–7 filler plants in loose drifts around them.
- 8–12 ground layer plants or plugs, woven through all the gaps.
Choose plants that:
- Are adapted to your local climate (preferably native or well‑naturalised species).
- Flower at different times to give a long nectar season.
- Offer different leaf shapes and heights to create habitat variety.
Tip: If choosing plants feels overwhelming, pick one local wild plant community you love (a sunny meadow, a woodland edge, a coastal bank) and mimic its feel: similar light, similar soil, and species that come from that kind of place.
Step 4: Plant for Resilience (Spacing, Water, Mulch)
How you plant matters just as much as what you plant. This is where you set the tone: plants close enough to support each other and shade the soil, not so crowded that they struggle.
Planting day steps
- Lay pots out first. Place your plants, still in their pots, where you think they’ll go. Step back and check that tall ones won’t block shorter ones from the main viewing side, and that there are no big bare patches of soil.
- Check spacing. Aim for plants just close enough that their leaves will touch within a season or two. Closer planting shades the ground (reducing weeds and evaporation) and creates that biosphere “weave.”
- Water thoroughly in pots. Before planting, soak the pots in a bucket or tray until no more bubbles rise. Hydrated roots establish faster.
- Dig wide, not deep. Holes should be just a bit deeper than the pot, but at least twice as wide, so roots can spread into loosened soil.
- Free the roots. Gently tease circling roots loose. This encourages them to move out into the surrounding soil instead of staying pot‑shaped.
- Plant level with the soil. Don’t bury the crown (where stem meets roots). Backfill with the soil you removed, firming gently to remove air pockets.
- Water again, slowly. Give each plant a generous drink, letting water soak in deeply. Deep watering trains roots to grow down, not just stay at the surface.
- Top up mulch. Pull mulch back from the stems and add more if needed so there’s still a 5 cm blanket around each plant, with a small gap right at the stem to prevent rot.
Step 5: First‑Season Care for a Young Biosphere
The first year is about helping your young ecosystem knit together. After that, you can gradually do less and watch more.
Watering
- Weeks 1–4: Check soil moisture every few days. Water deeply when the top 3–5 cm is dry, rather than sprinkling little and often.
- Months 2–6: Stretch the gaps between waterings. Your goal is to encourage deep rooting and drought resilience, not to keep the surface constantly damp.
Weeding
- Be selective: Remove aggressive weeds that will overwhelm young plants, but tolerate a few non‑threatening volunteers. Some will become useful nectar plants or living mulch.
- Weed after rain: Damp soil makes it easier to lift whole roots, saving time later.
Mulch maintenance
- Top up mulch once or twice in the first year if you see too much bare soil reappearing.
- As your ground layer plants spread, you’ll need less added mulch; the plants themselves become your living cover.
Observing and tweaking
- Notice which plants thrive with minimal fuss—these are your core species to repeat elsewhere.
- Notice which struggle or sulk. In a biosphere mindset, it’s fine to replace them with tougher, better‑adapted plants next season.
- Watch who visits: bees, hoverflies, beetles, birds. Their presence is a sign your mini‑ecosystem is doing its job.
Step 6: Think Beyond This One Bed
Once your first biosphere bed is underway, you’ve learned the basics of building climate resilience and biodiversity into your garden. The same principles scale up easily.
- Link patches: Add another bed a few metres away, or connect pots and planters as “stepping stones” for insects and other small creatures.
- Soften edges: Let your biosphere bed spill into lawn or paving edges with low groundcovers instead of sharp, bare borders.
- Add vertical layers: Over time, consider a small tree, shrub, or climber nearby to create more shade, shelter and habitat.
Every new patch you plant this way becomes part of a larger living network: slowing and soaking water, cooling the air, sheltering soil life, and feeding pollinators. Starting one bed from scratch might feel small, but in ecological terms, it’s a powerful act.
Stand back at the end of planting day and really look at what you’ve created: not just a bed, but the beginning of a sanctuary. With each season, your young biosphere will do more of the work for you—if you give it good soil, diverse plants, and a little patient observation, it will repay you many times over.